Growing microgreens at home gets you in touch with nature, provides you with the freshest harvest possible, and helps to supplement a healthy diet.
What you need:
Willika growing trays (set of 3)
Seeds
Medium (soil) *we recommend Promix or a seed starting mix
Misting Bottle
Sharp knife or scissors
Grow Lights (30 watt LED setup) or Next to a window for 4-6hrs of direct sunlight.
Step 1
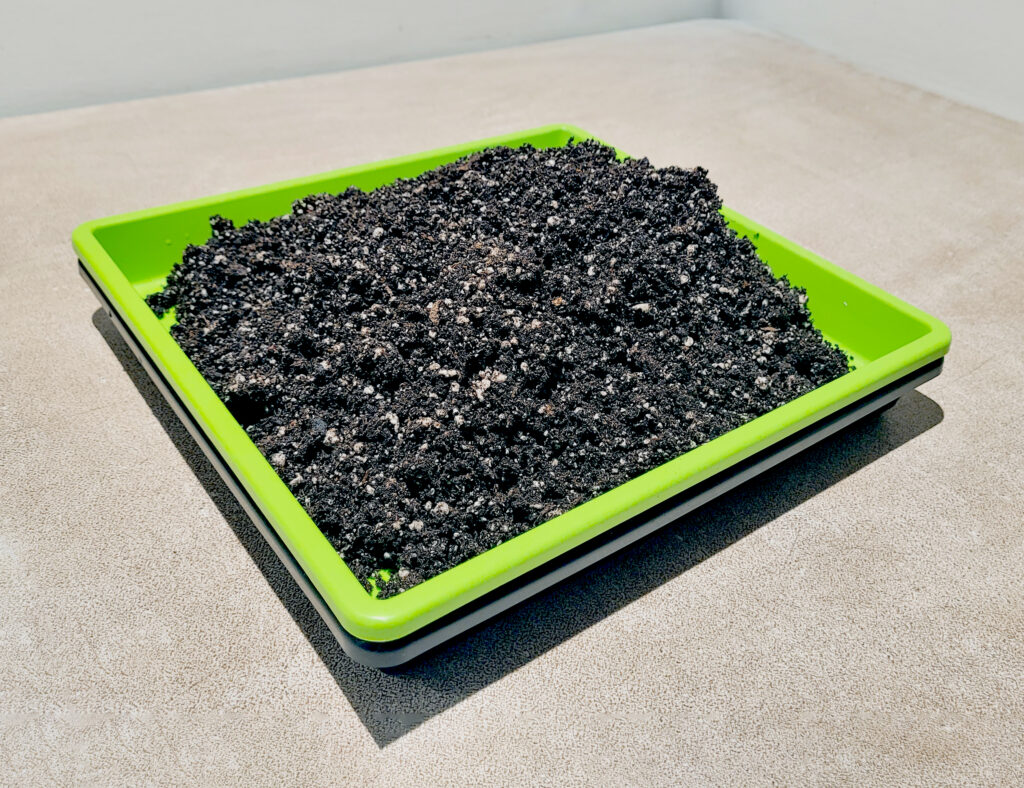
Preparing medium and bottom tray
Prepare your soil; In a large bowl add your medium and add little water gradually, mix well. You want to be able to squish no more then a few small drop of water from your medium.
Place the green tray into the bottom black tray. Fill in your green tray with your medium flush with the borders and flatten it by pressing with the top black tray.
Leave to germinate 2 to 3 days.
Step 2
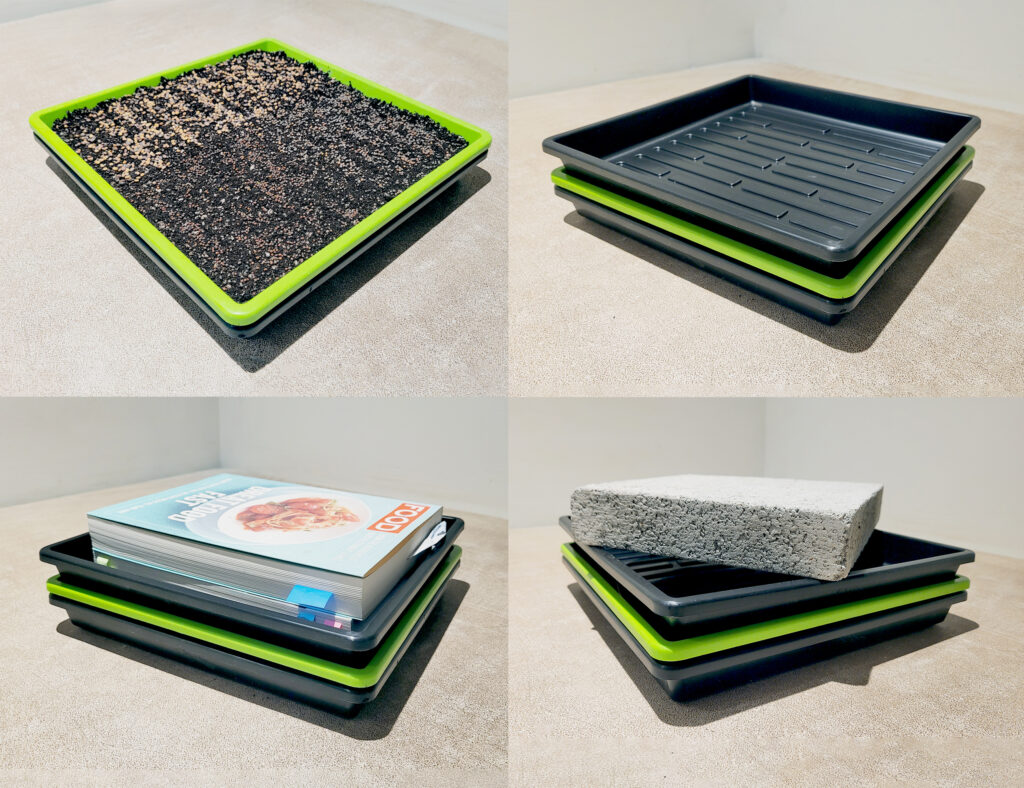
Seeding and Blackout
Spread your seeds across the tray evenly. Using the spray bottle mist generously the top to moist all the seeds.
Place the black top tray over the seeds. Place a 2.5-5lbs weight over the tray, this process will force the seeds to have a good contact with the medium and create a strong germination.
This blackout process is 3 days longs, if the medium was well moisturized there is no need to mist during this time.
Step 3
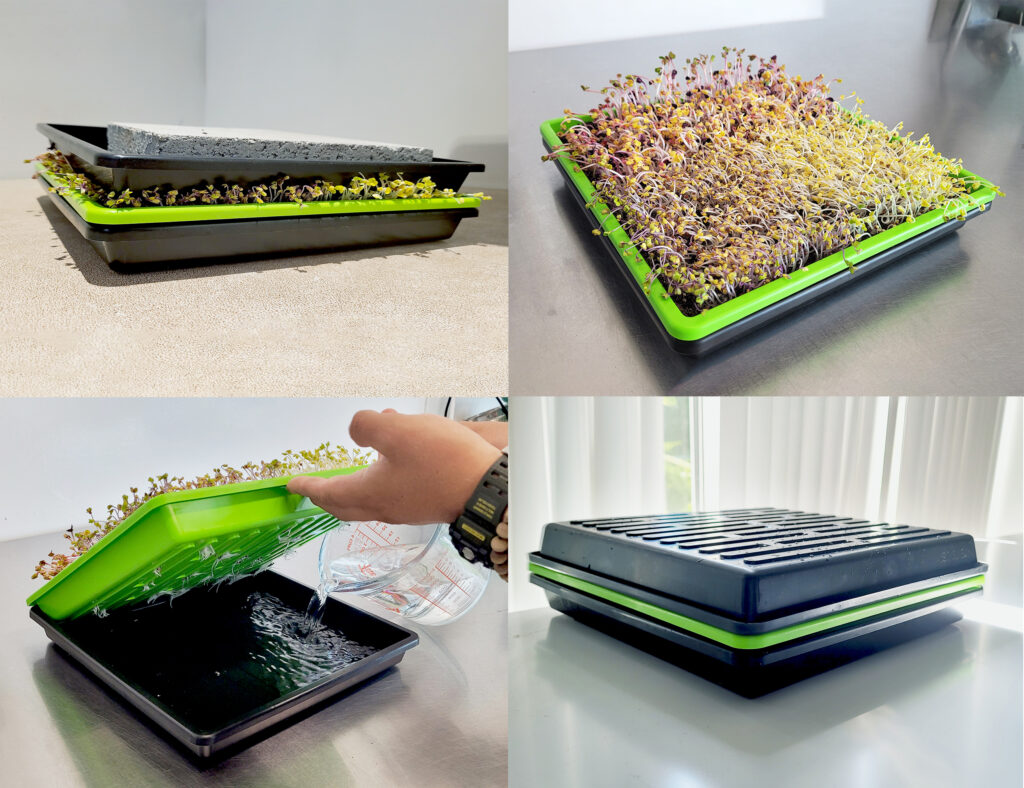
Germination Dark out
Remove the weight and top tray, rinse top tray of any contaminants.
Lift up the green tray and pour 0.5 liter of water into the bottom black tray. Slowly submerge your green tray and let sit for 1 minute. Discard any excess water from the bottom black tray and put back under the green tray.
Take the rinsed top black tray and flip it over to cover the seed and create a dome effect, this process will allow the microgreens to reach the desired height. If the medium was well moisturized there is no need to mist during this time.
Remove the Black Top Tray, inspect your microgreens if the medium is dry and water if needed, using the same process; 1L of water in bottom back tray.
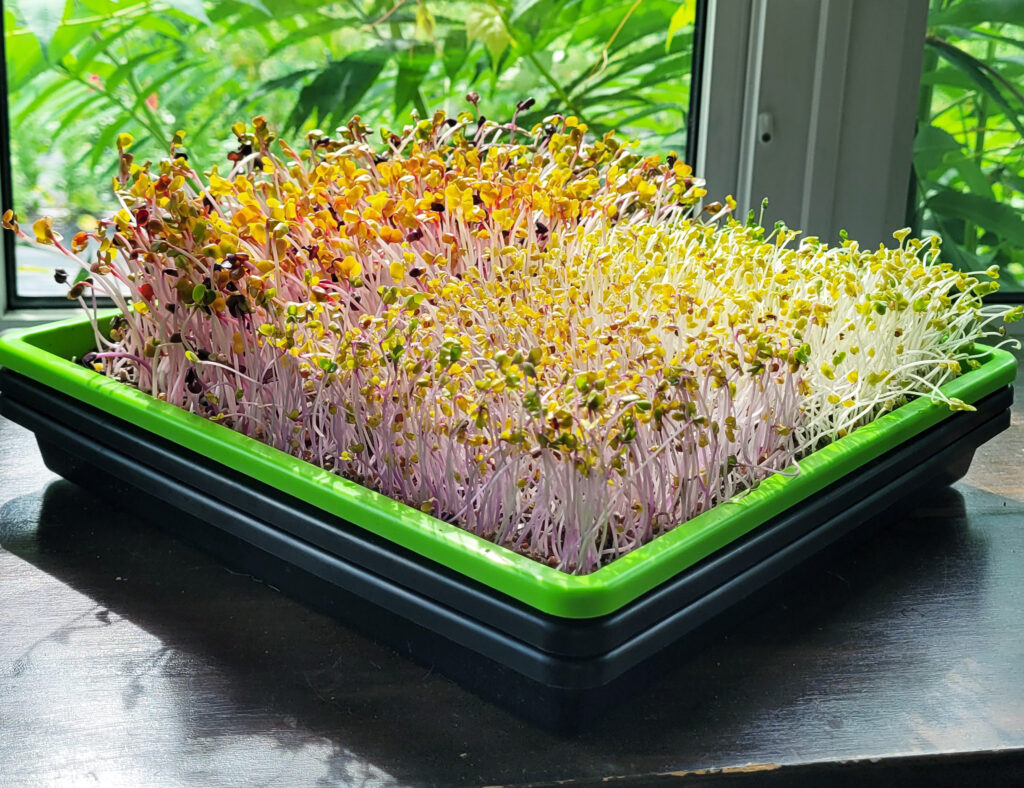
Place your tray of microgreens where it will have light exposure and let grow for minimum 2-3 days before beginning to harvest.
Water every 2nd day or as needed.
Note: Everyone’s growing conditions are different, you need to inspect your microgreens each day to ensure everything is growing well.
Step 5
Harvest
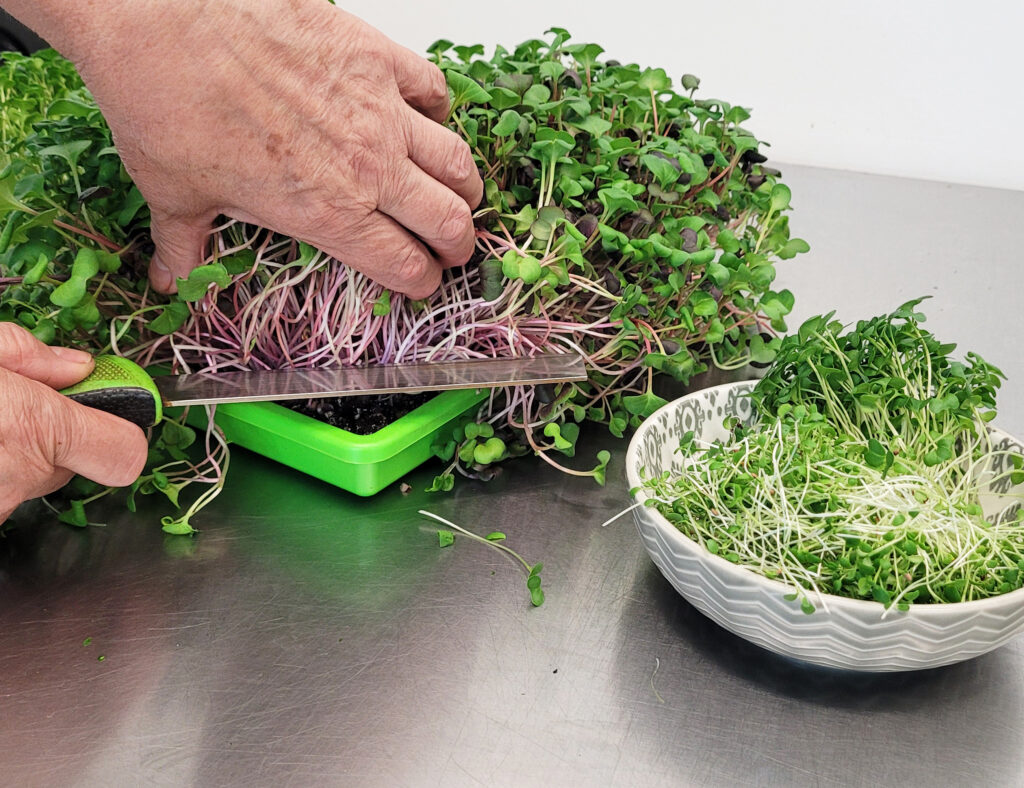
Most microgreens can be harvested between 8-12 days.
Using A sharp knife or scissors, cut the desired amount of microgreens above the soil.
Microgreens will keep for 10 days after being cut in a ceiled container in the fridge.
Note: Do not store cut microgreens in the back of the fridge, as it can be too cold.
Step 6
Sanitation
Once you harvest all your greens:
Discard in your compost all the medium used in the green tray.
Rince and wash your 3 trays thoroughly with soap and hot water. They Could also be rinsed and placed in a dishwasher (plastic#5 is heat resistant) to ensure they are sterilized.
Note: Do not reuse the same medium, this can promote mold.
Good luck, have fun and enjoy the freshly grown microgreens at home!